Sketching Circuits
Step-by-Step Instructions
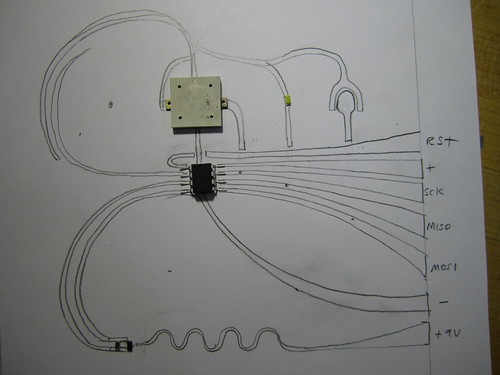
Lay out your components and decide on a circuit layout.
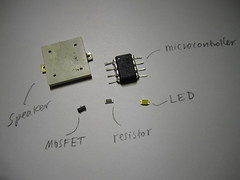
Be creative.
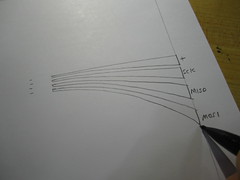
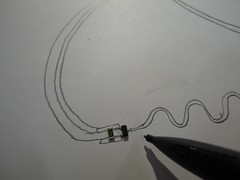
Extend your programming pins to the edge of the page so that you can connect to them to program the microcontroller even after it has been integrated in the circuit.
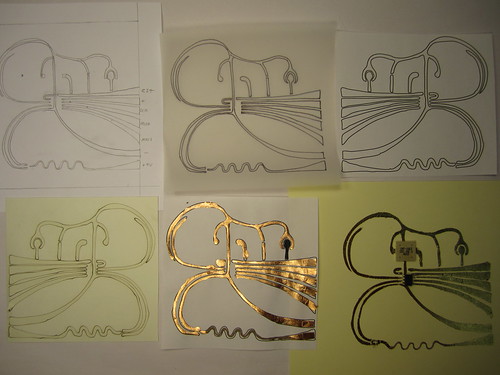
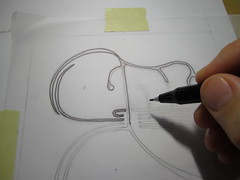
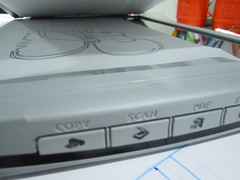
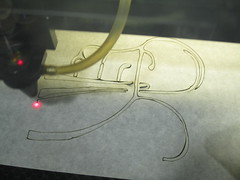
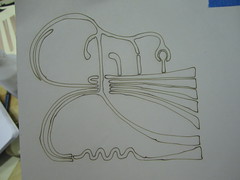
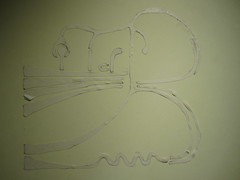
Trace final design through tracing paper.
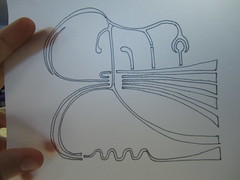
Scan.

Open in Photoshop and adjust white balance so that white is white and lines are black.
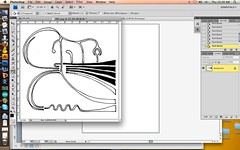
If you did not fill your traces in your drawing then do so with the filler tool in Photoshop.
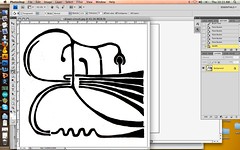
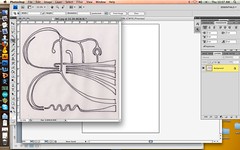
Save image and drag into Illustrator. Select Object >> Live Trace >> Make and Expand.
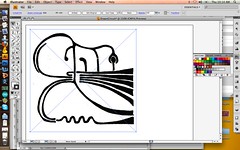
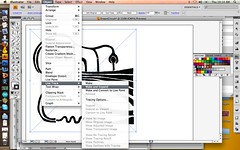
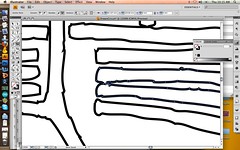
Ungroup image, delete background and get rid of fill so that you are left with outlines
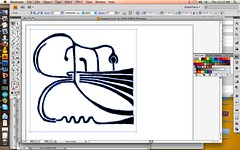
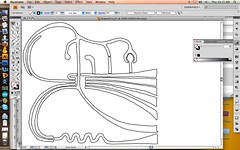
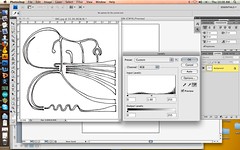
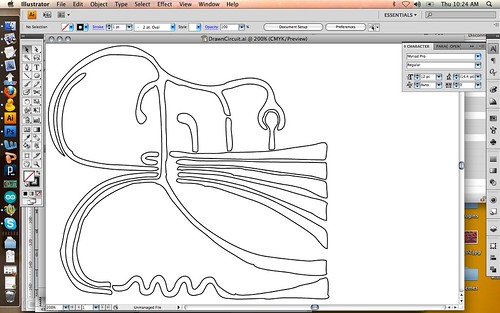
Zoom-in and clean up any mistakes. Select Object >> Path >> Simplify to smooth lines.
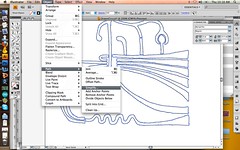
Now your vector file is ready to cut or print.
OPTION 1) Lasercut masking tape for screen printing.
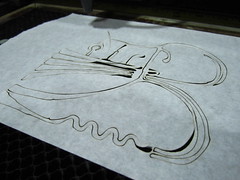
Did not work so well. Masking tape did not want to stick to silkscreen.
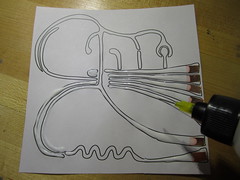
OPTION 2) Print out to fill in by hand.
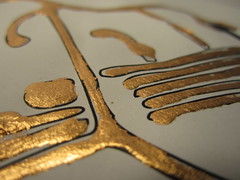
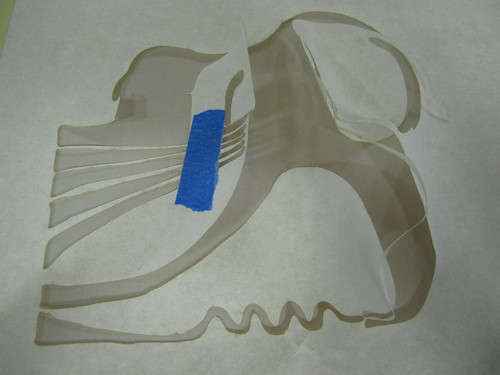
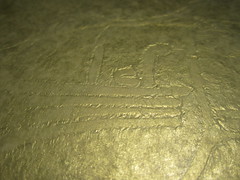
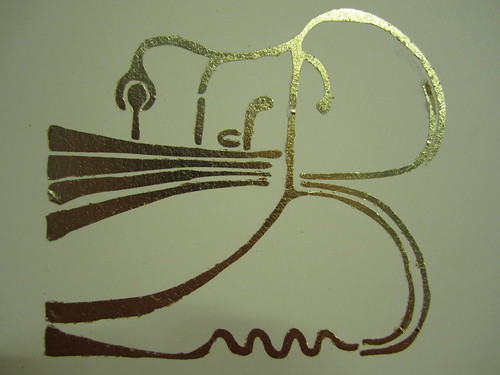
OPTION 3) Lasercut double-sided sticky tape for gold leaf. Remove excess sticky.
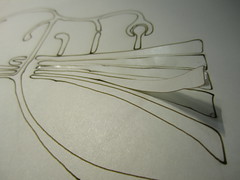
Transfer traces to paper.
Apply gold leaf.
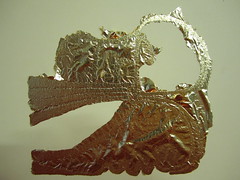
Brush away excess gold leaf.

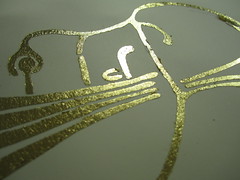
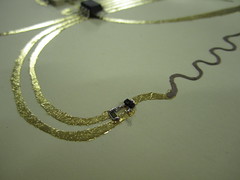
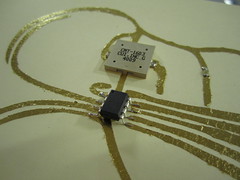
Use flux on gold leaf traces to solder on components.
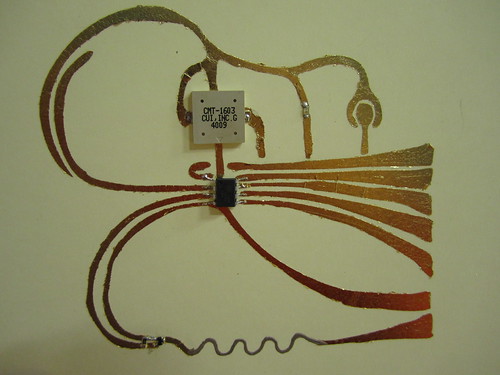
Connect alligator clips to programming connections to program microcontroller. See microcontroller programming for detailed instructions.
Working circuit.
Video


programming pins to the edge of the page so that you can connect to them to program